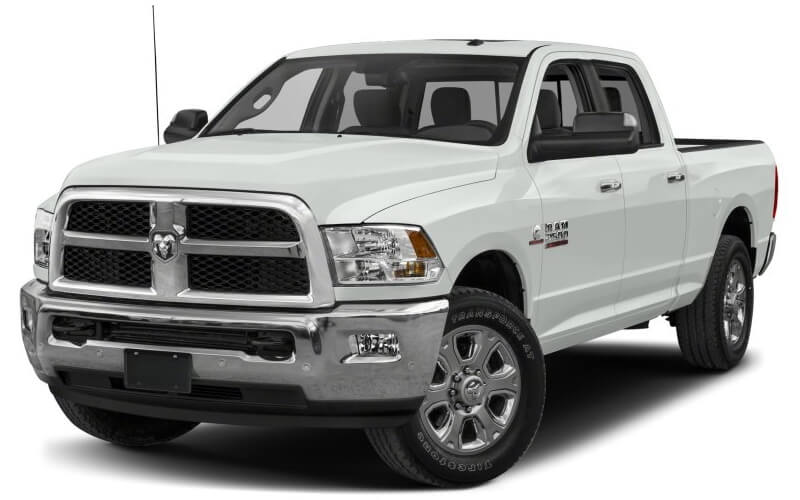
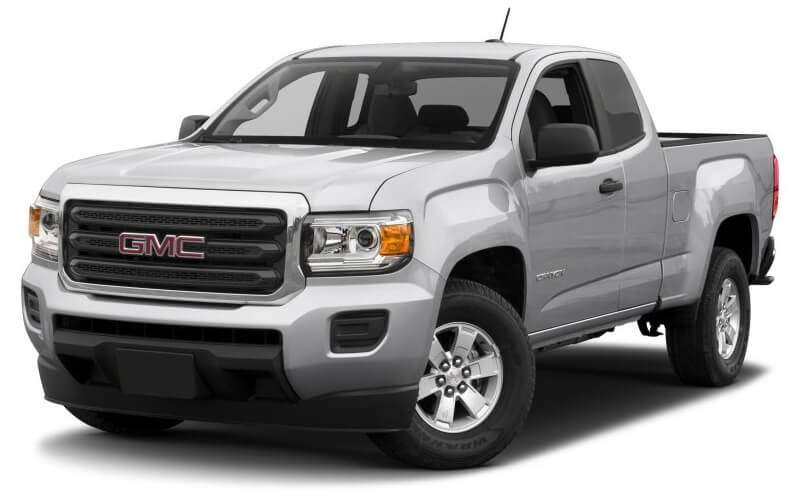
With time, plastic lenses of factory headlights fade under the influence of UV rays, temperature changes and road debris, that damage them. Further, these damages lead to dimming of the headlights, which means worse visibility on the road. In future, faded headlight lenses may be a real safety hazard, especially when it rains, snows or when you drive in fog. To avoid potential danger and ensure convenient drive, you can always replace headlights or, when it is possible, install the new exterior lenses instead of scratched ones.
However, there is a less expensive way to restore quality light output of the factory headlights. You can buy a quality headlight restoration kit that includes everything needed and restore the transparency of your headlights by yourself without having to pay someone do this job for you. There are many brands, that offer good restoration kits, but the most popular 2 are restoration kits by Sylvania and 3M. Bot feature quality solutions and do not require any special skills to use them.
Headlight Restoration: Quick Instruction
Here is what you will need to restore headlights at home:
- a headlight restoration kit;
- around 2 hours of time (1 hour per headlight);
- warm weather;
- basic technical skills.
Headlight Installation Instruction
- Clean the surface of your headlights.
- Use the first abrasive and rub the lights to remove the upper layer that has faded.
- Wipe off the remains of the abrasive with a wipe.
- Take the second abrasive and repeat the 2nd step.
- Remove the remains of the abrasives off the headlights surface.
- Apply protective UV coating to the coating and let it dry.


